2.2 Key Functionalities
This chapter presents the key functionalities step by step — from case selection to diagnosis.
1. Case Selection
Users begin by selecting a cardinal symptom on the landing page (e.g., abdominal pain, fever, vaginal bleeding) to open and receive a new patient case.

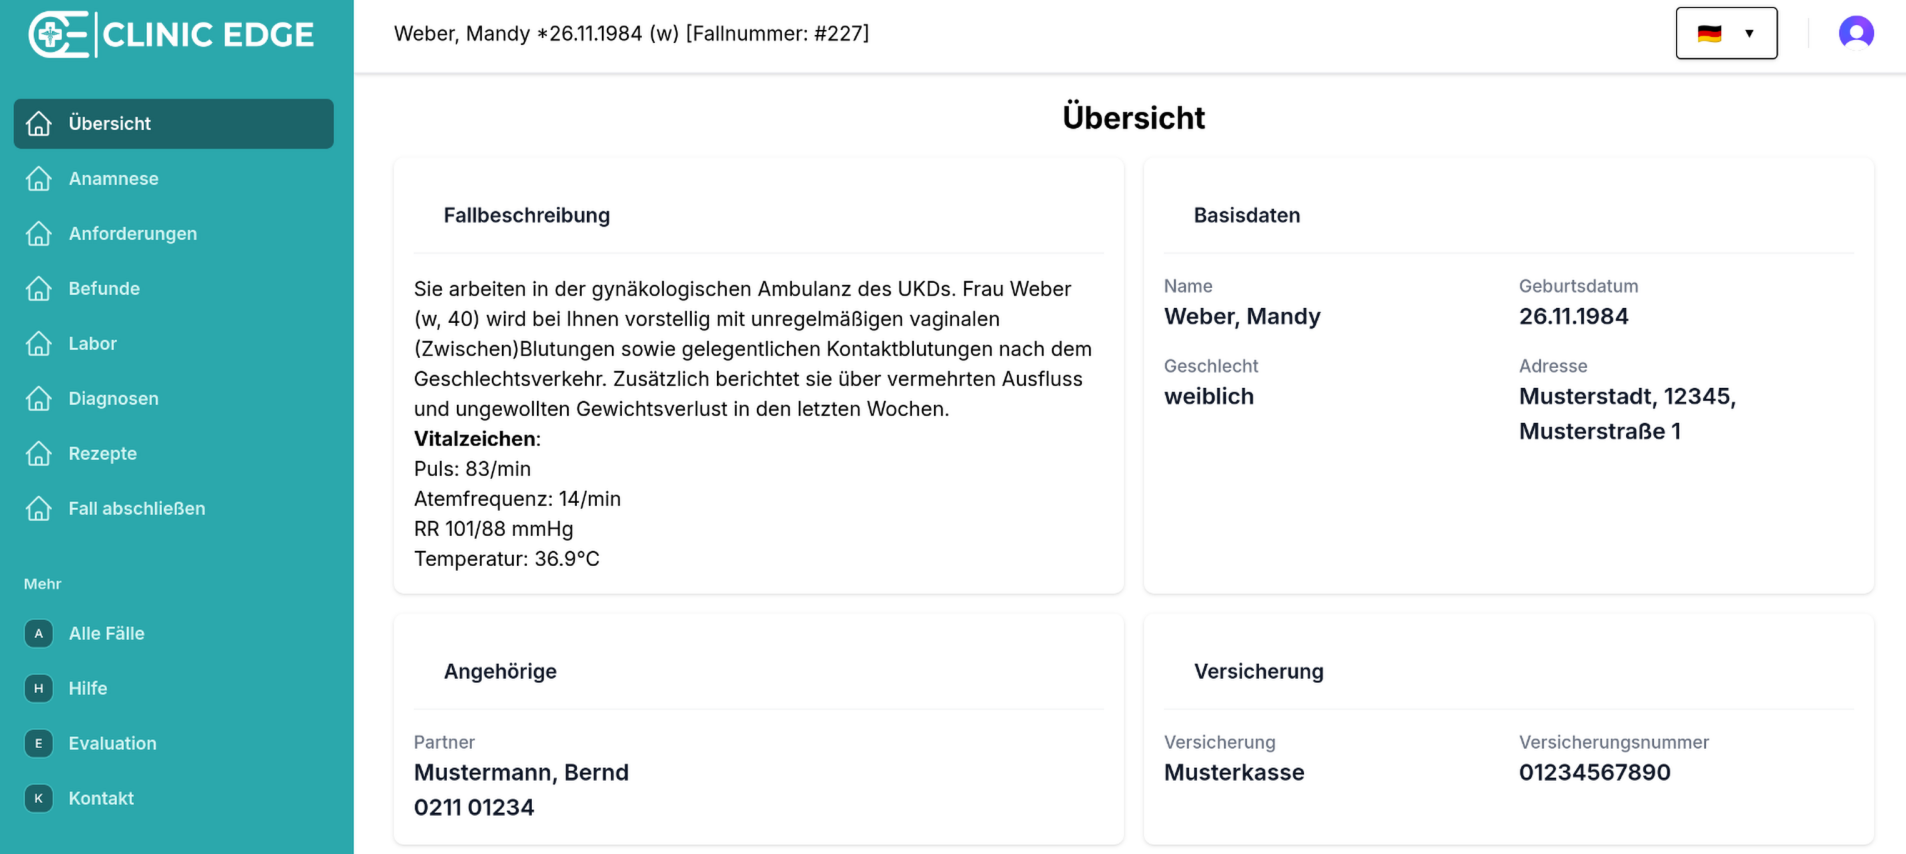
2. Review the Case
Once a case is loaded, users can review:
- Basic information (e.g., age, sex)
- Vitals (e.g., temperature, heart rate)
3. Chat with the Patient
To investigate the patient’s symptoms and clinical history, users can use the AI-powered patient chat to explore:
- Current symptoms
- Medical history (e.g., pre-existing conditions, prior surgeries)
- Menstrual history

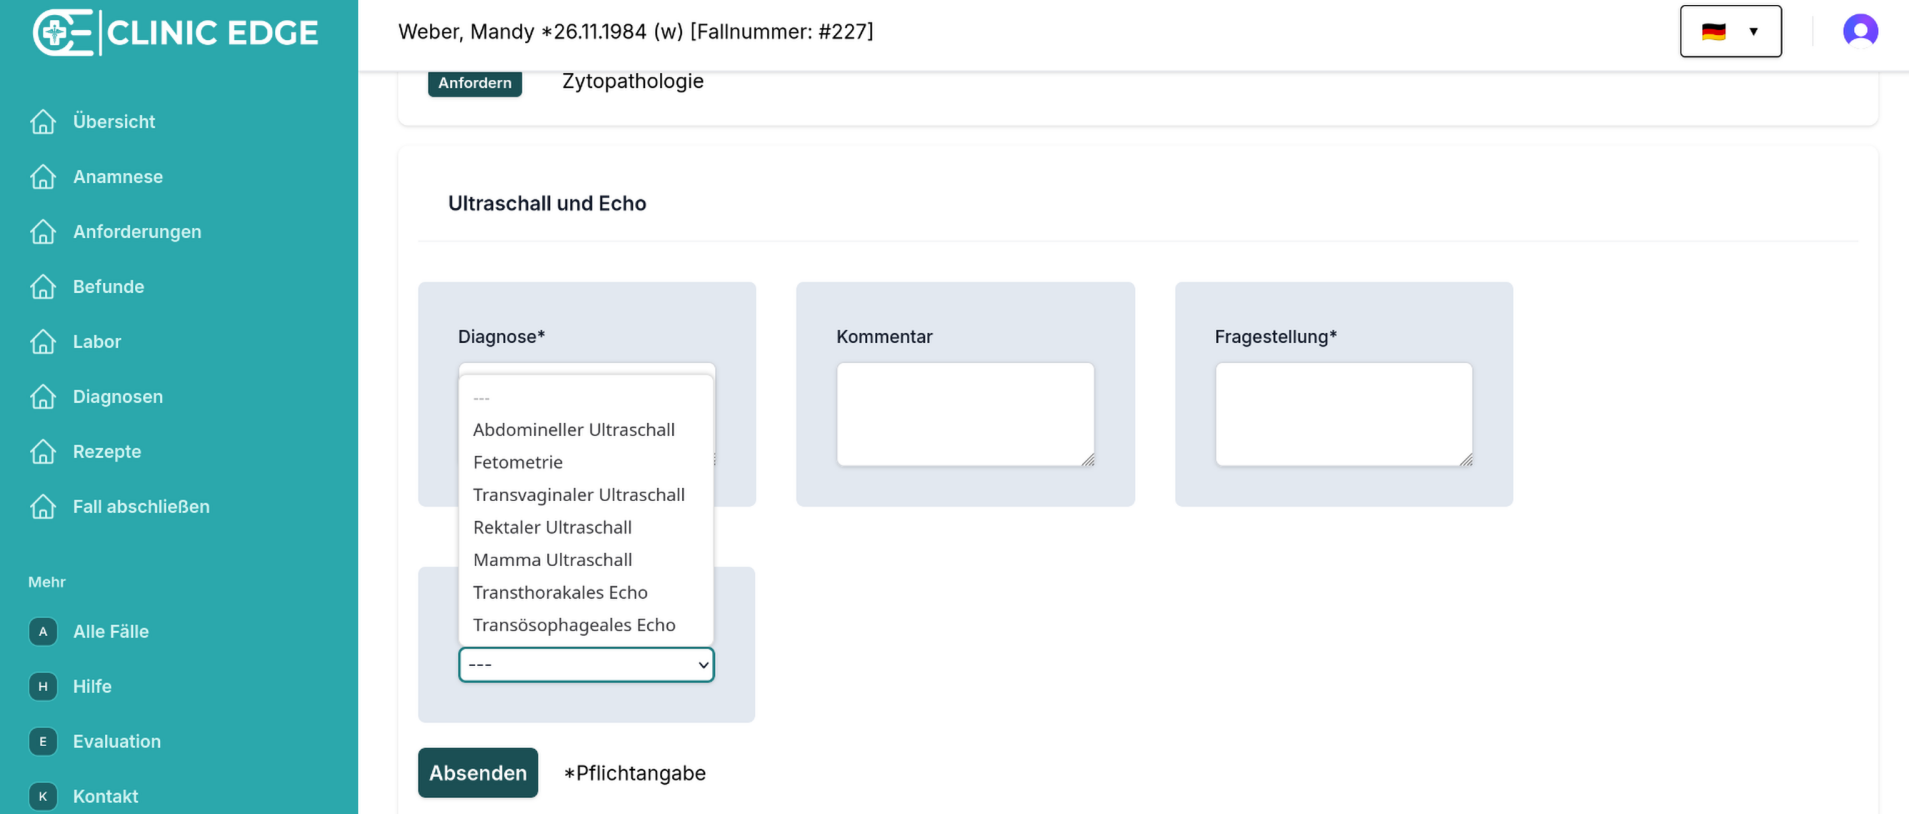
4. Request & Review Diagnostic Tests
Based on clinical interpreation, users can request relevant diagnostic tests and examinations, including:
- Lab tests (e.g., CRP, hemoglobin)
- Microbiology and urinalysis (e.g., cultures, vaginal swabs)
- Imaging (e.g., ultrasound, MRI, CT, X-ray)
- Invasive diagnostics (e.g., laparoscopy, biopsy, hysteroscopy, cytopathology)
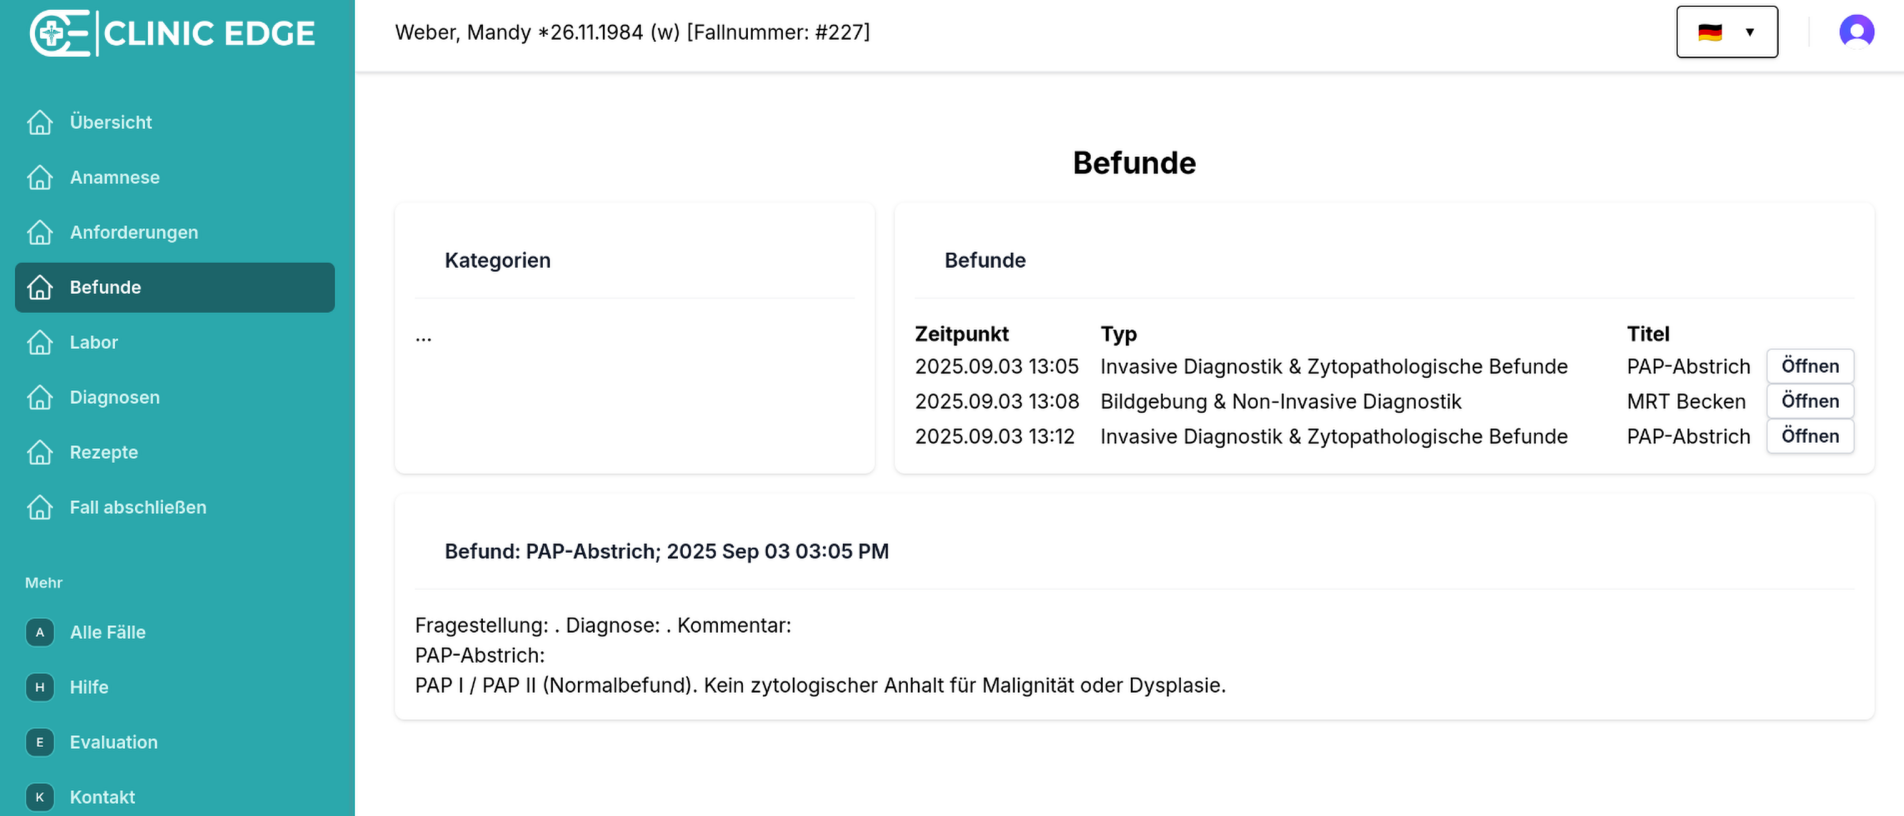
Each request returns auto-generated results, including:
- Lab values
- Microbiology results
- Written diagnostic reports for imaging and and other diagnostic procedures
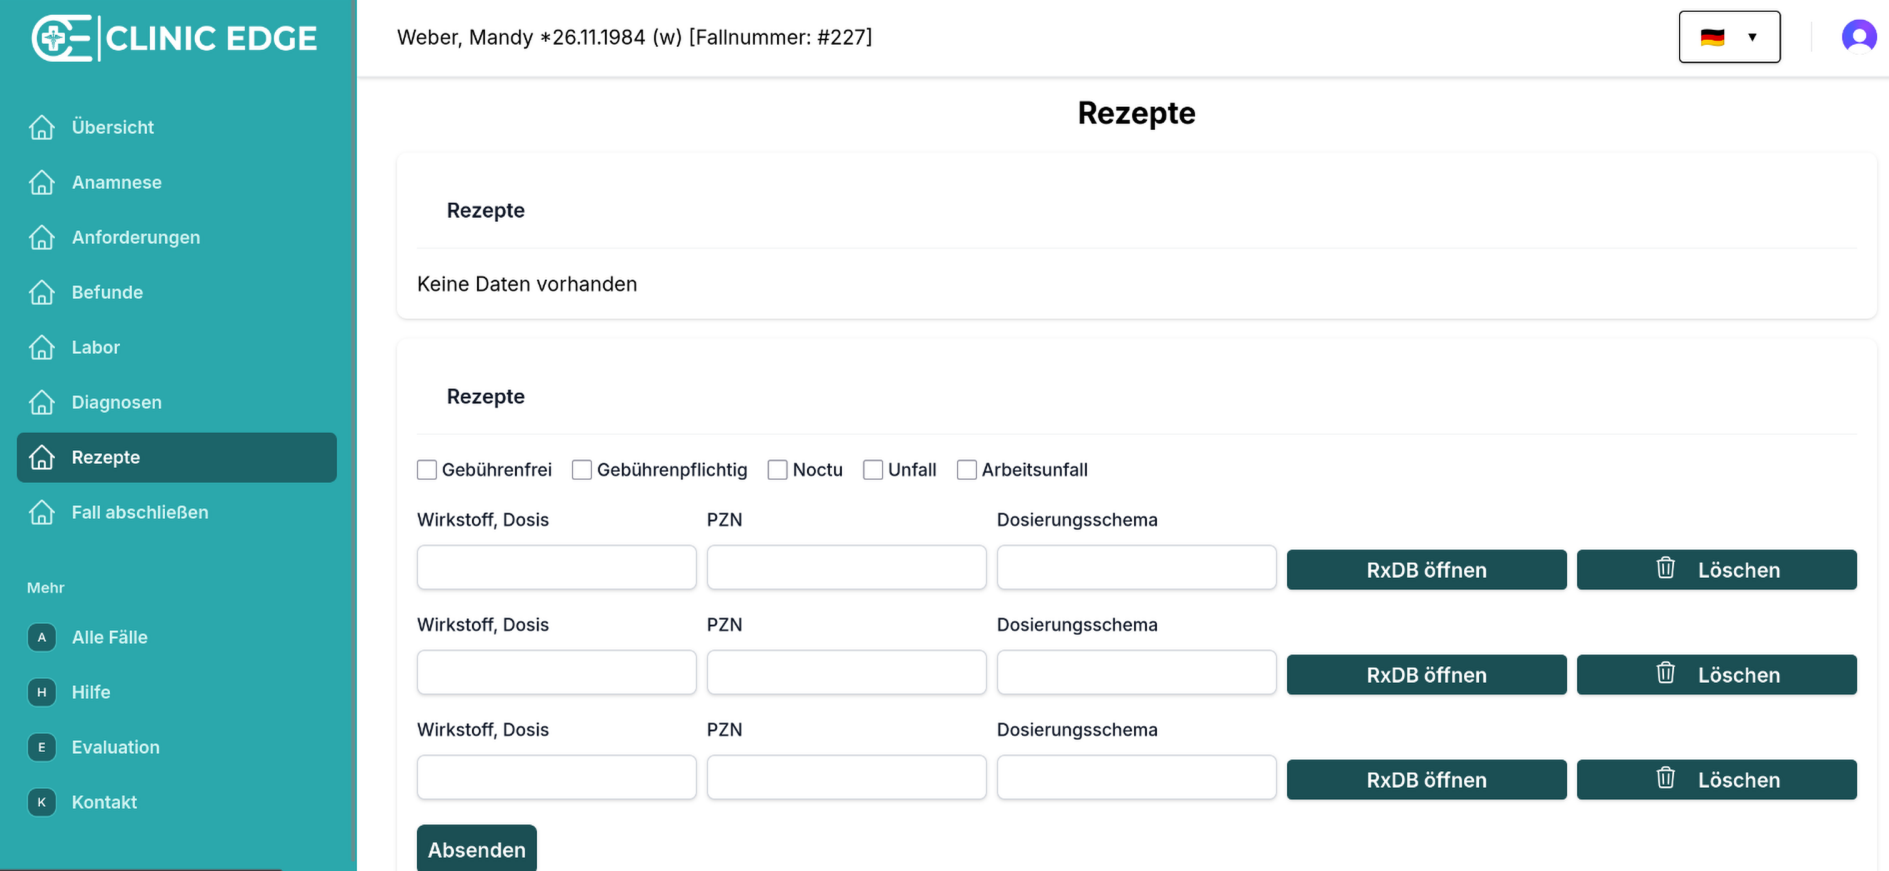
5. Assign Diagnosis & Prescriptions
Once enough information has been gathered, users can:
- Assign ICD-10 diagnoses
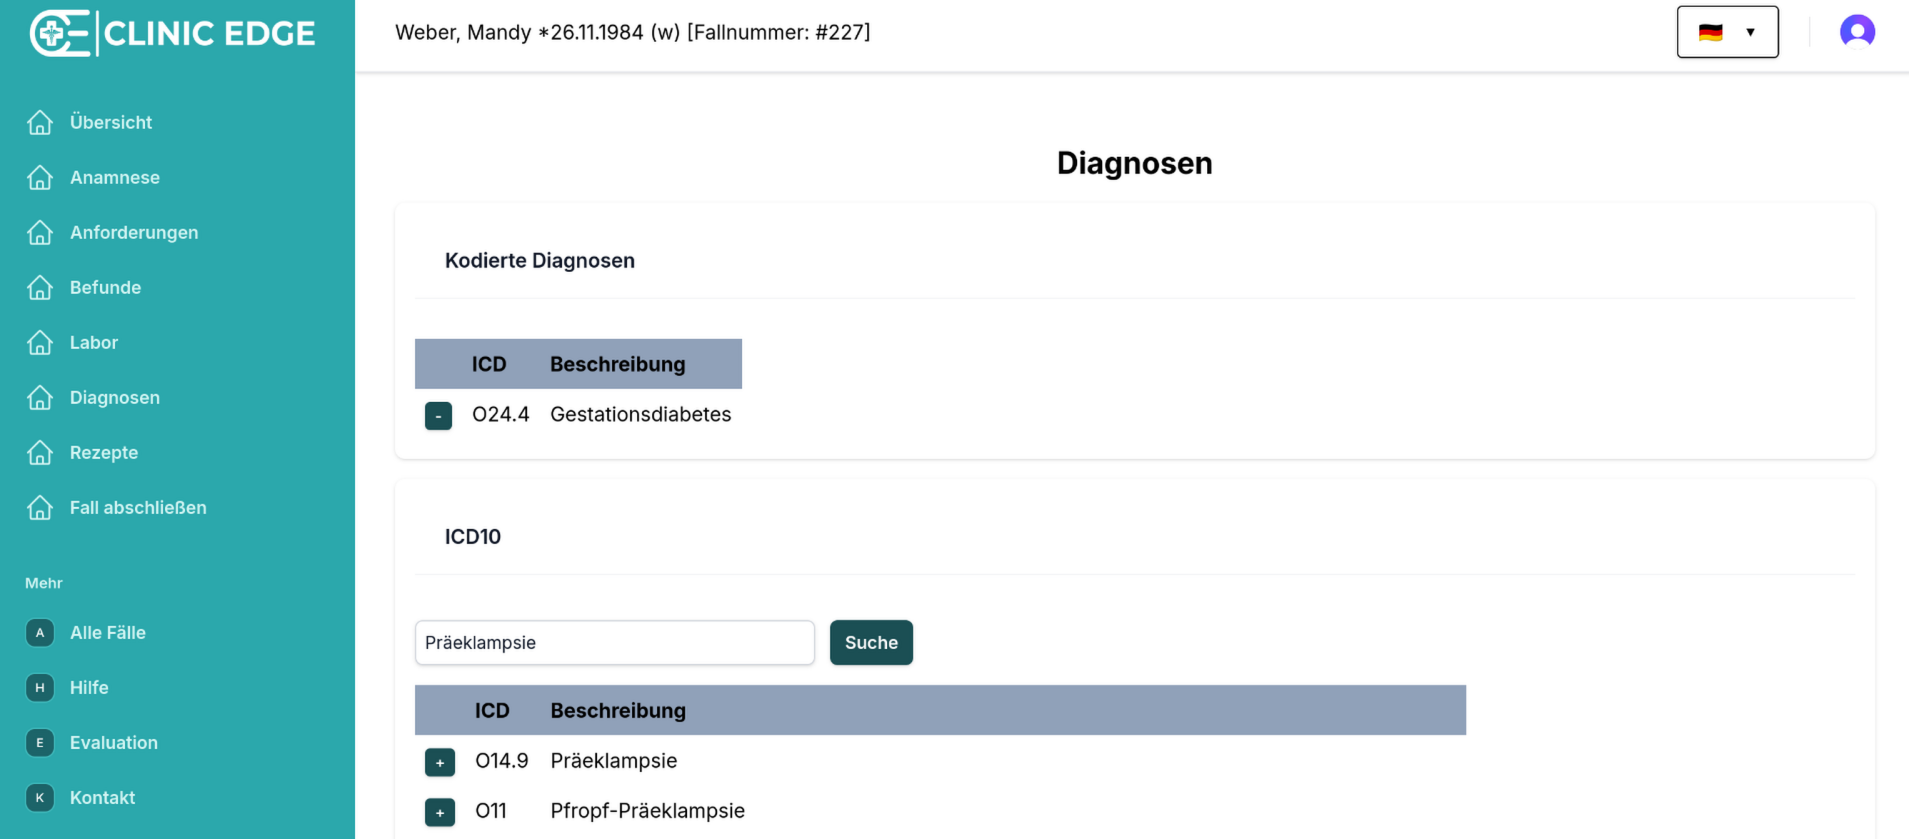
- Add prescriptions
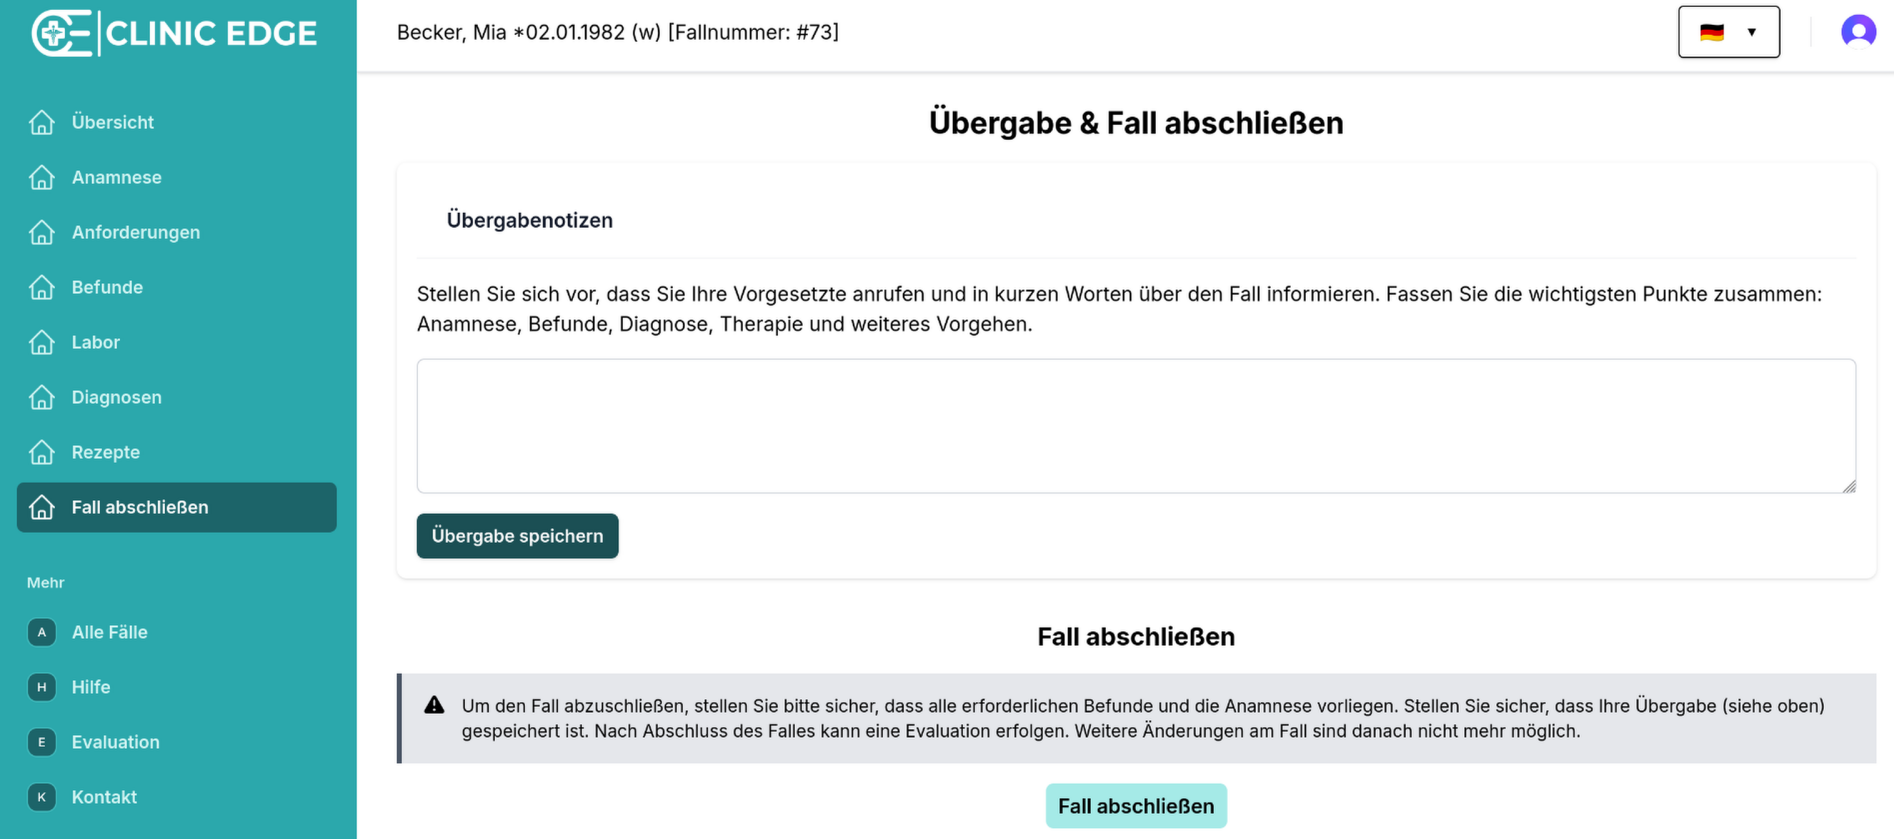
6. Finish Case
Users can hand over a summary of the case to a "supervisor". When everything is done, the case can be finished. Afterwards, no changes can be made anymore.